
This guide explains how to create and edit receipt templates.
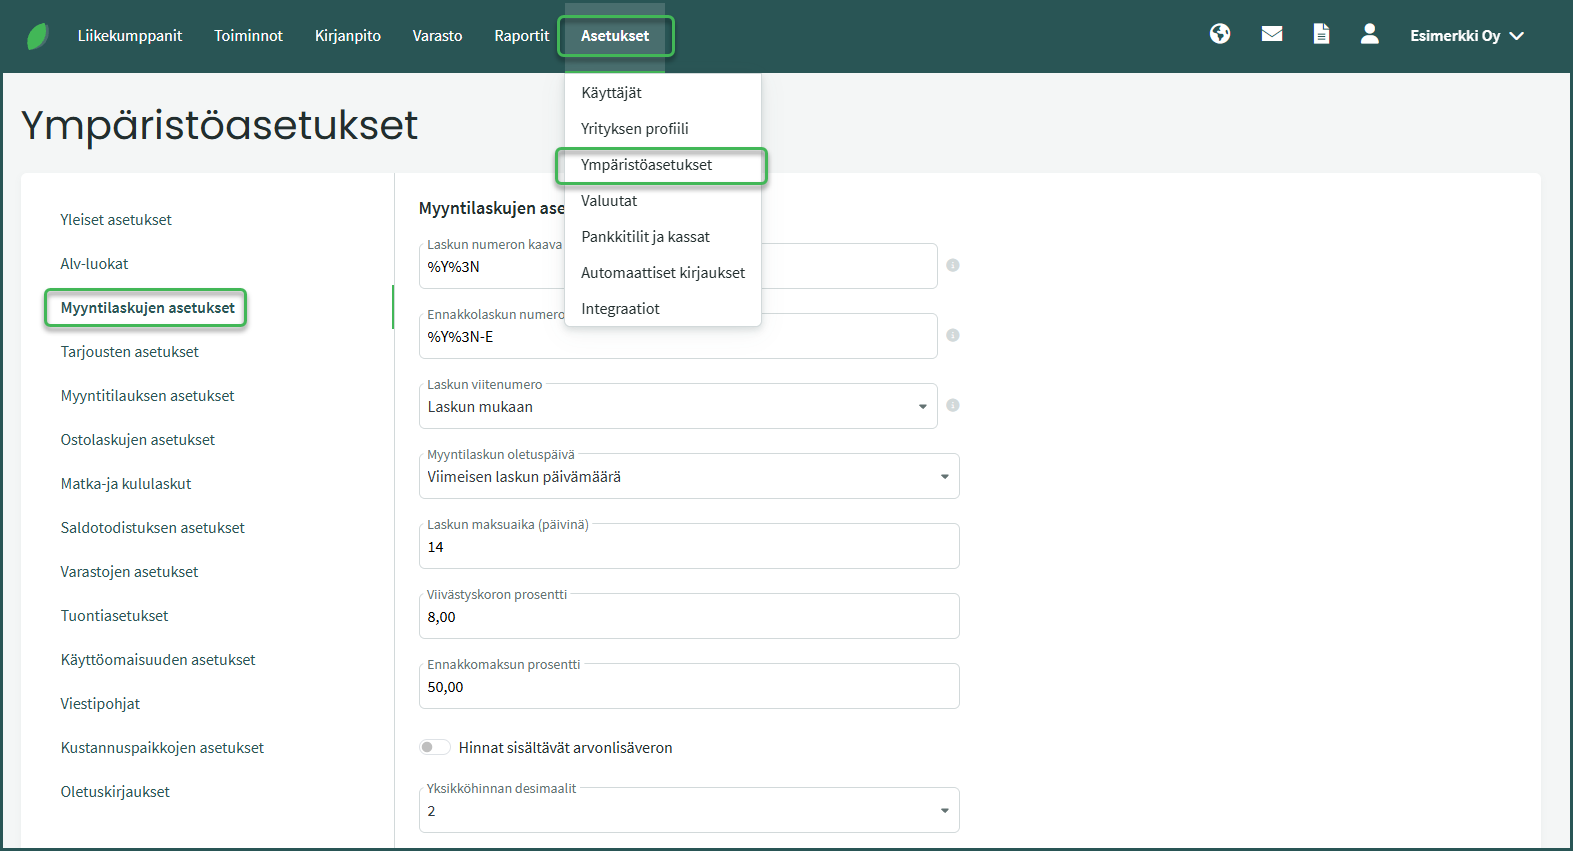
1. Receipt template settings are found under Settings > Environment Settings > Sales Invoice Settings > Invoice Templates
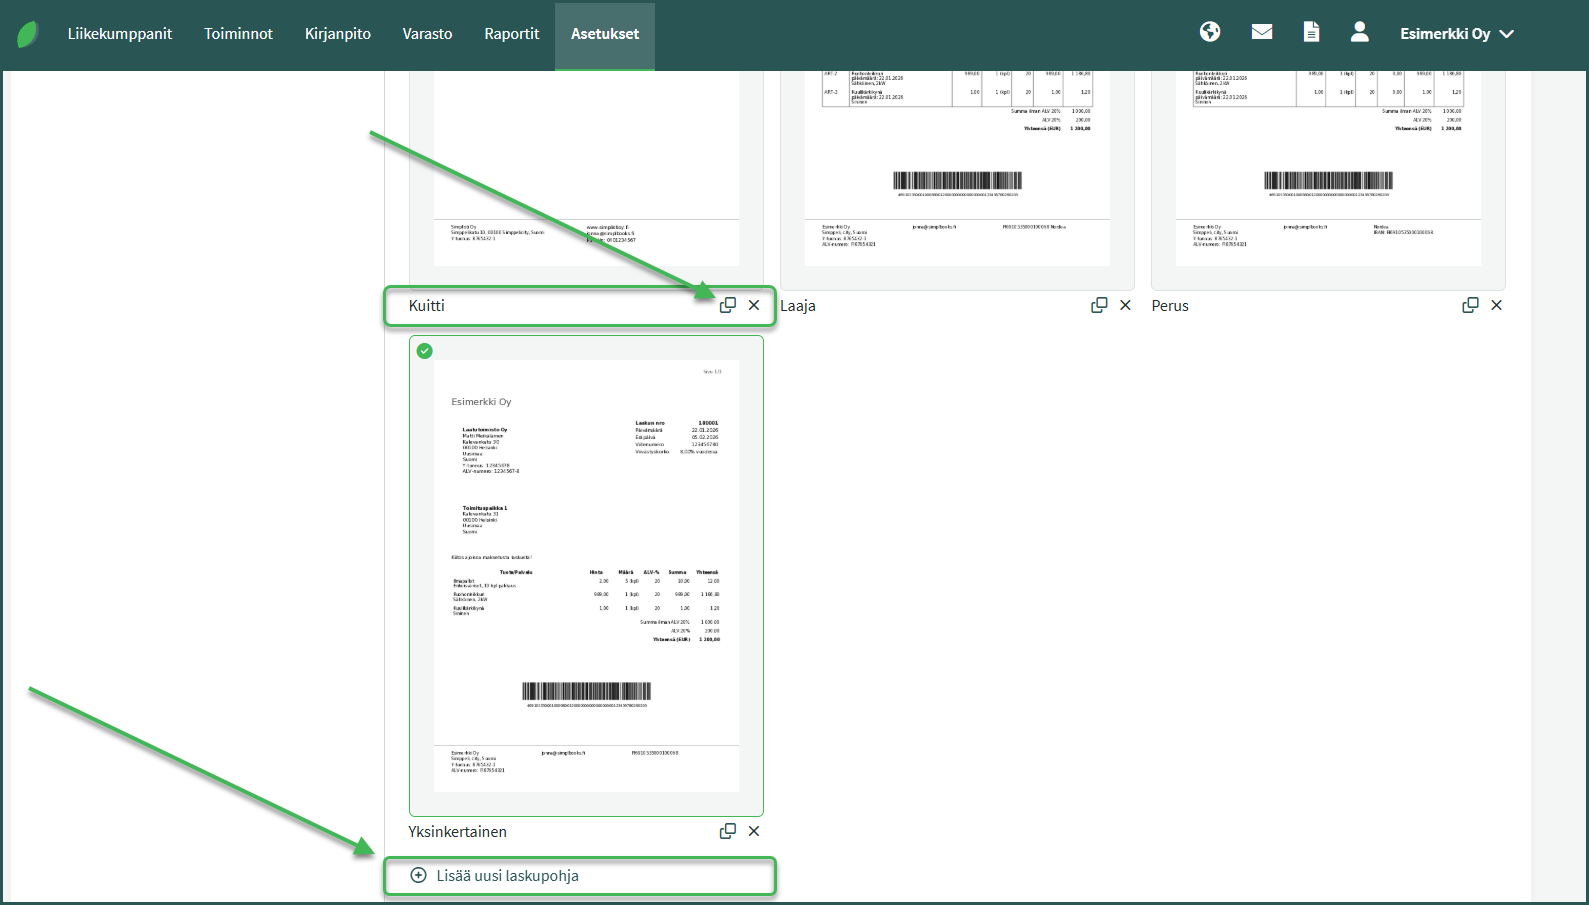
2. If you started using the program after 2021, a default receipt template is already available. You can create a new editable receipt template based on it using the copy icon, or create a completely new receipt template by clicking “Add new invoice template”.
3. In the view that opens, you can add and remove elements as needed
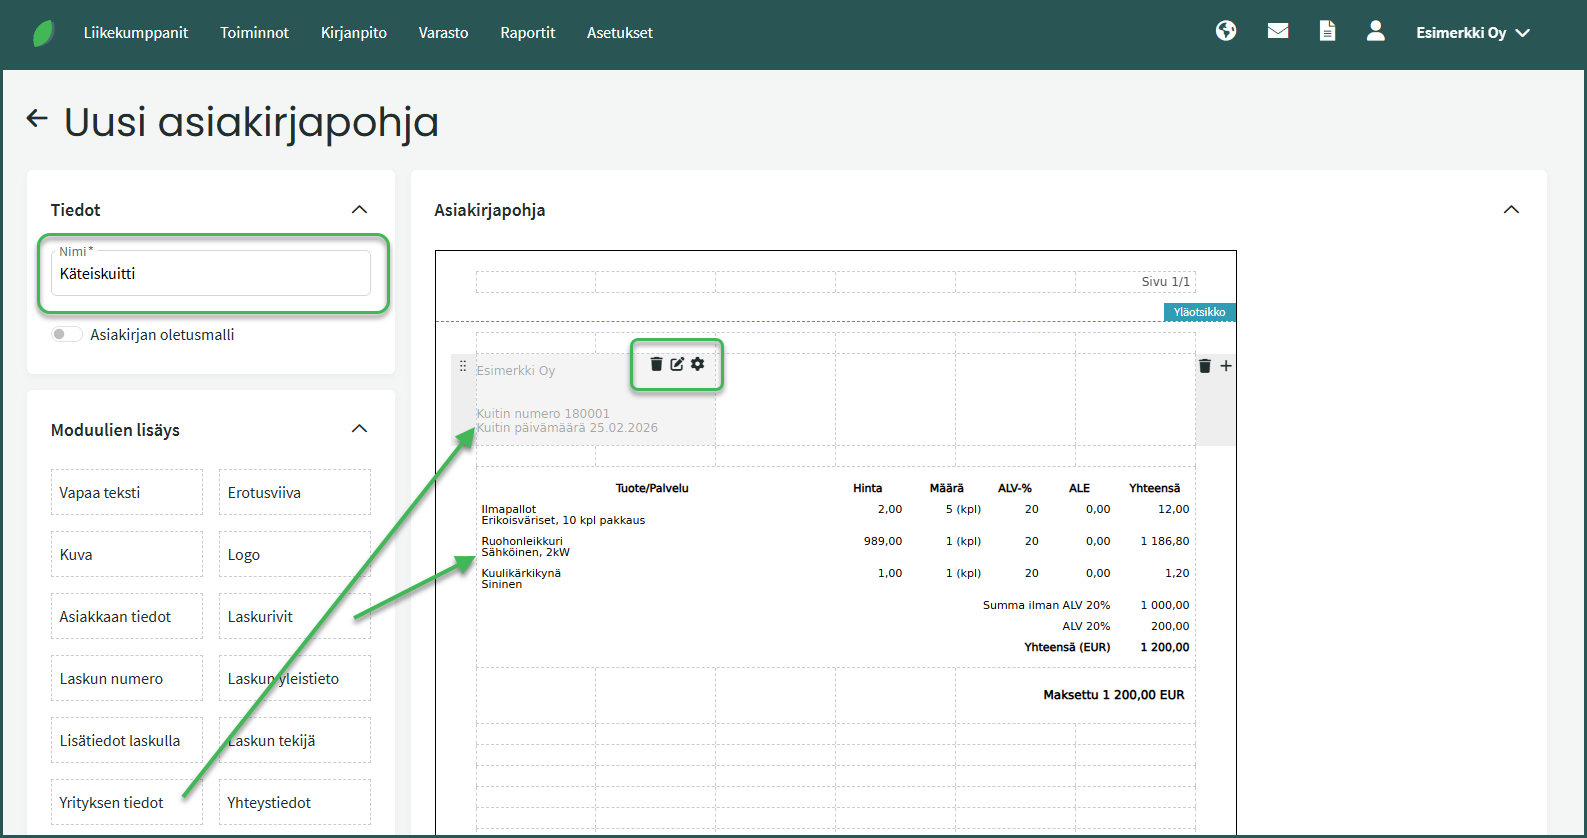
- It is a good idea to give the receipt template a name so it is easier to find when you want to use it.
- Elements are added by dragging modules to the desired location on the document template from the “Add Modules” section.
- When you hover over a module added to the document template, a menu appears in the upper right corner:
- Trash can – Remove the element.
- Pencil and notepad – Edit the element’s data (e.g. which information is displayed on the element)
- Gear – Edit the element’s formatting (e.g. text and background colour)
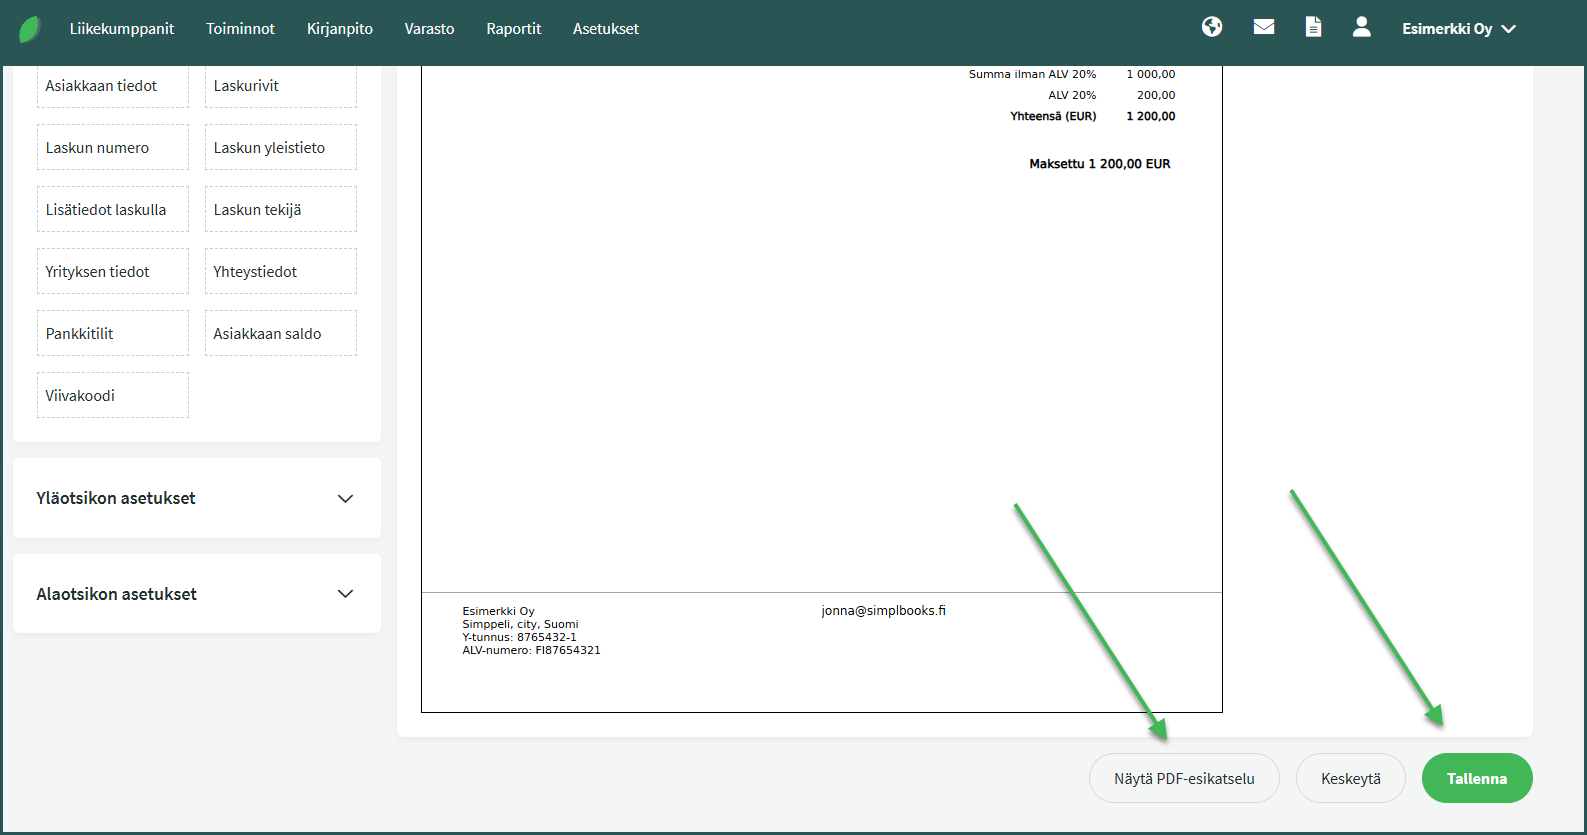
4. You can preview the template by selecting “PDF Preview” in the bottom right corner, or save the receipt by clicking “Save”.
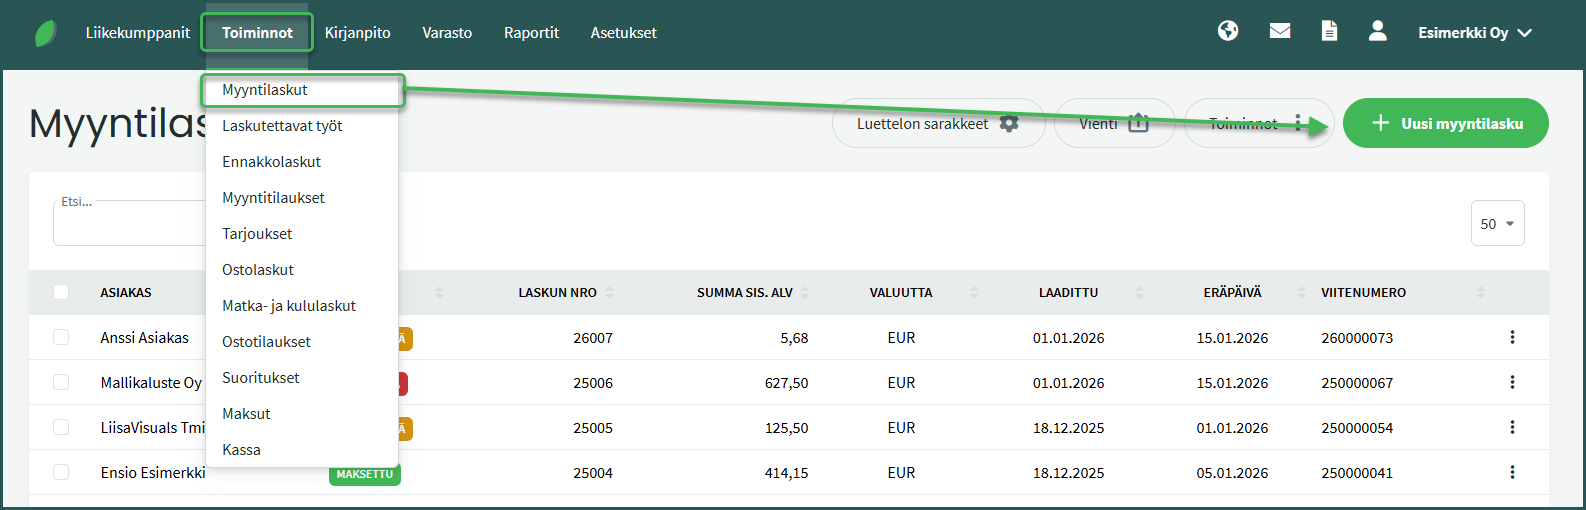
5. Create a receipt by creating a new sales invoice under Actions > Sales Invoices > New Sales Invoice
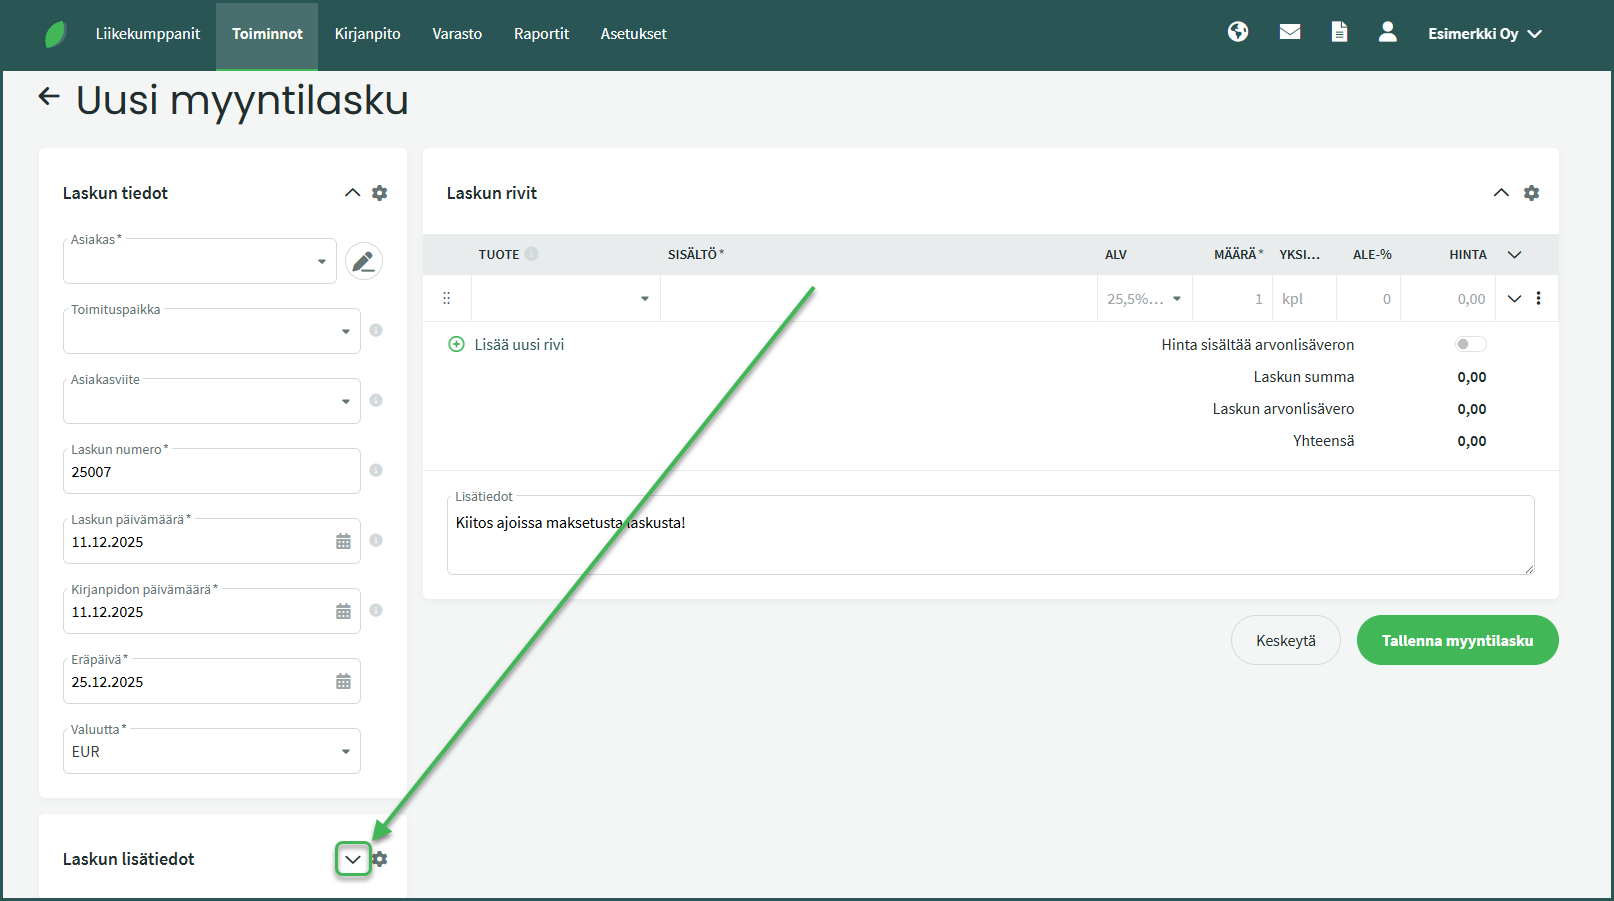
6. Select the receipt template under Invoice Additional Details > Document Template
Leave A Comment?