
The first part of this guide explains how to create a product without inventory tracking. Read this part if you sell services or products for which you do not need to track stock levels.
The second part is intended for situations where you want to track stock quantities. Read the second part ONLY if you want to continuously know how many products you have in stock.
This method of adding a product to the system is suitable for you if you sell services or sell goods and do not want to use inventory tracking.
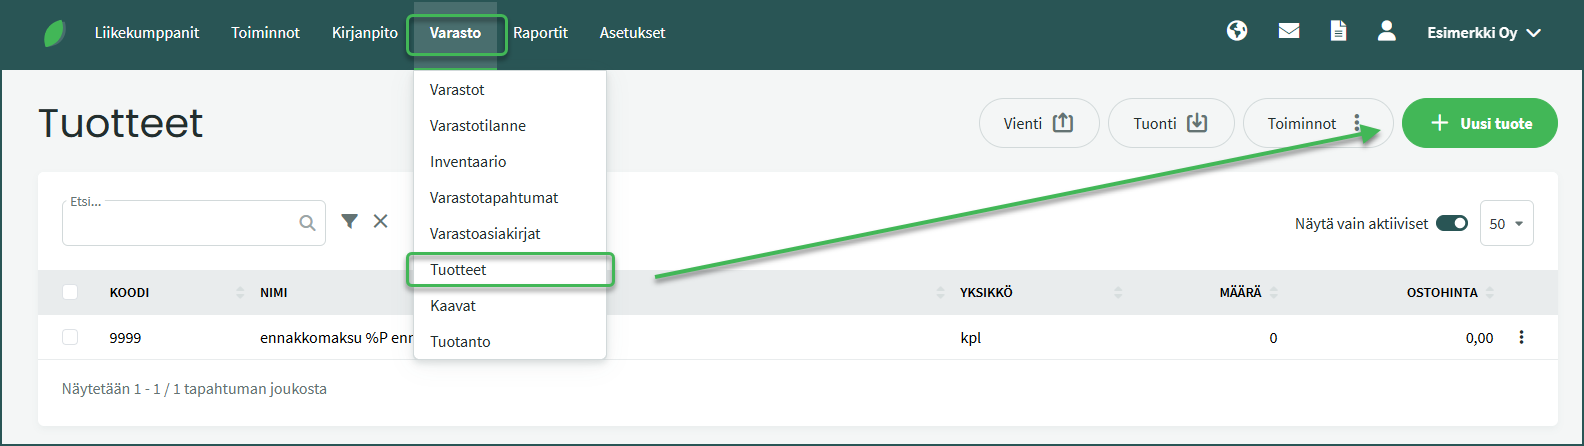
- Add a new product from Inventory > Products > New product
- Enter at least a code and a name for the product
- Select “Service product” to activate it
- Save the product
1. Add new products from Inventory > Products > New product
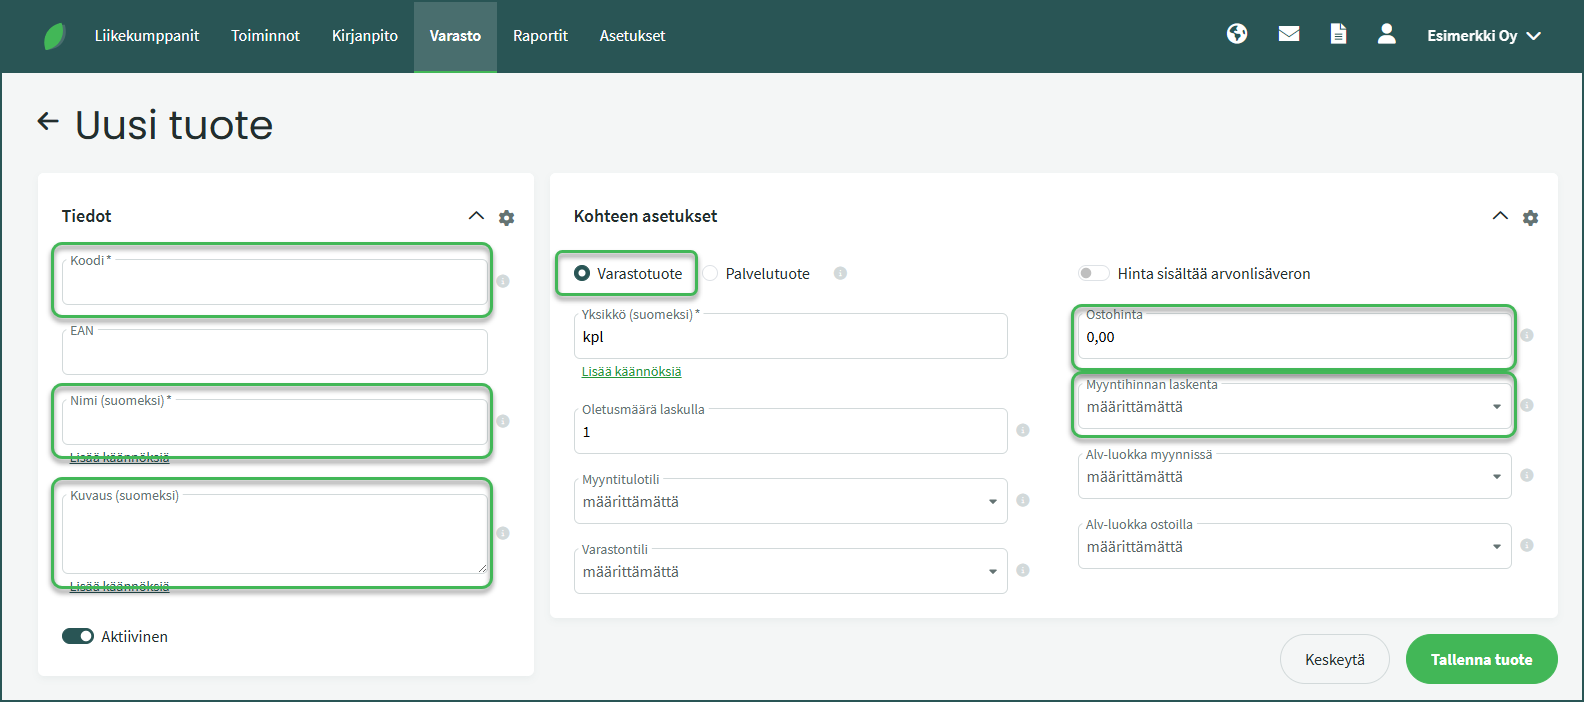
2. Fill in the required information
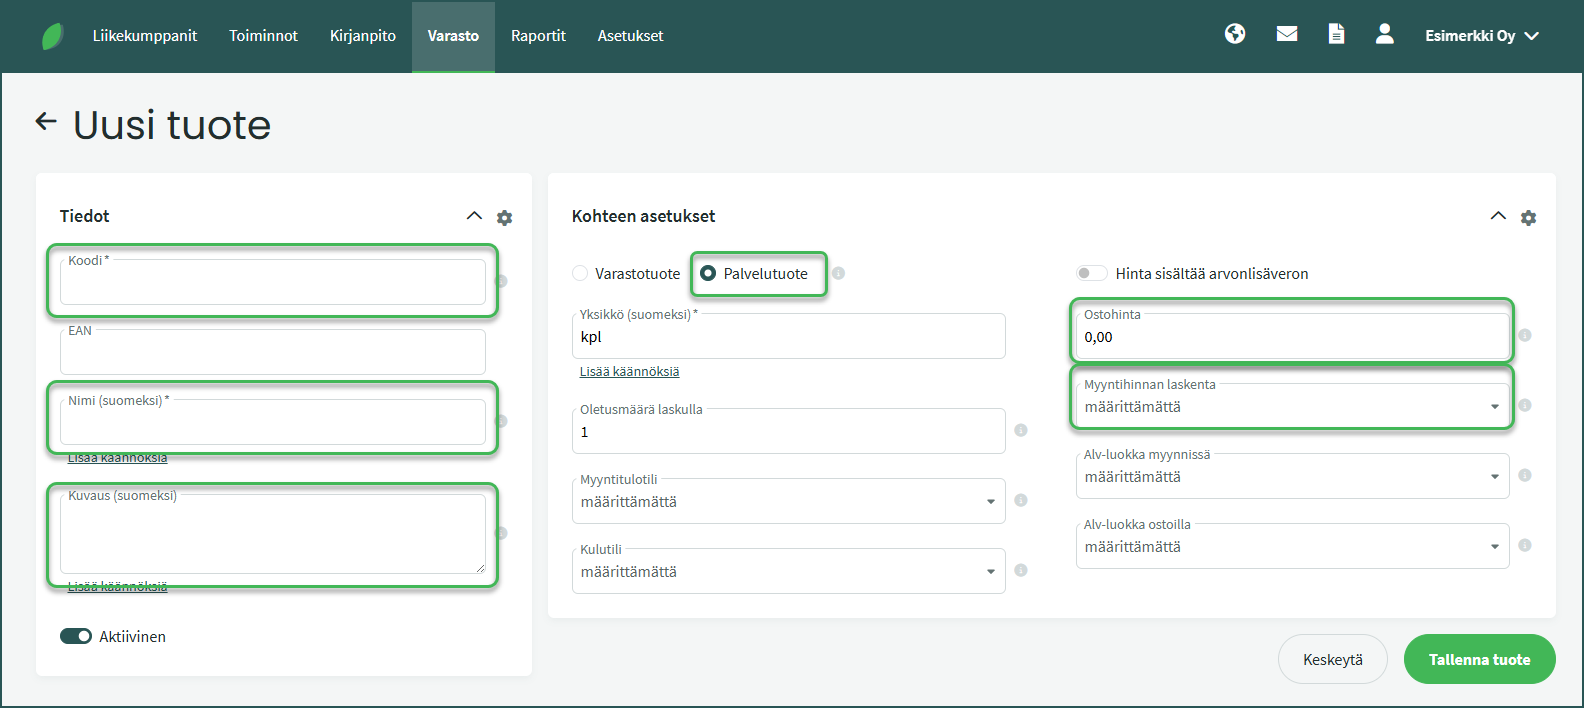
Required fields:
- Code – The code must contain at least two characters. It can be, for example, an official product number or a number series of your own choosing.
- Name – You can name the product using its official name or any name you prefer, for example “Tennis racket”.
Optional fields:
- Purchase price – You can specify the product’s purchase cost price.
- Sales price calculation – You can choose the method for calculating the selling price. It can be a “Markup percentage“, calculated from the purchase price, or a “Fixed selling price“, which is automatically applied to invoices.
- Description – Here you can optionally add more detailed background information or a product description. For example, “Wilson W 250, women’s professional racket”.
Select Service product as the product type and save. Once the product is saved, you can easily add it to, for example, a sales invoice, billable jobs, or a quote.
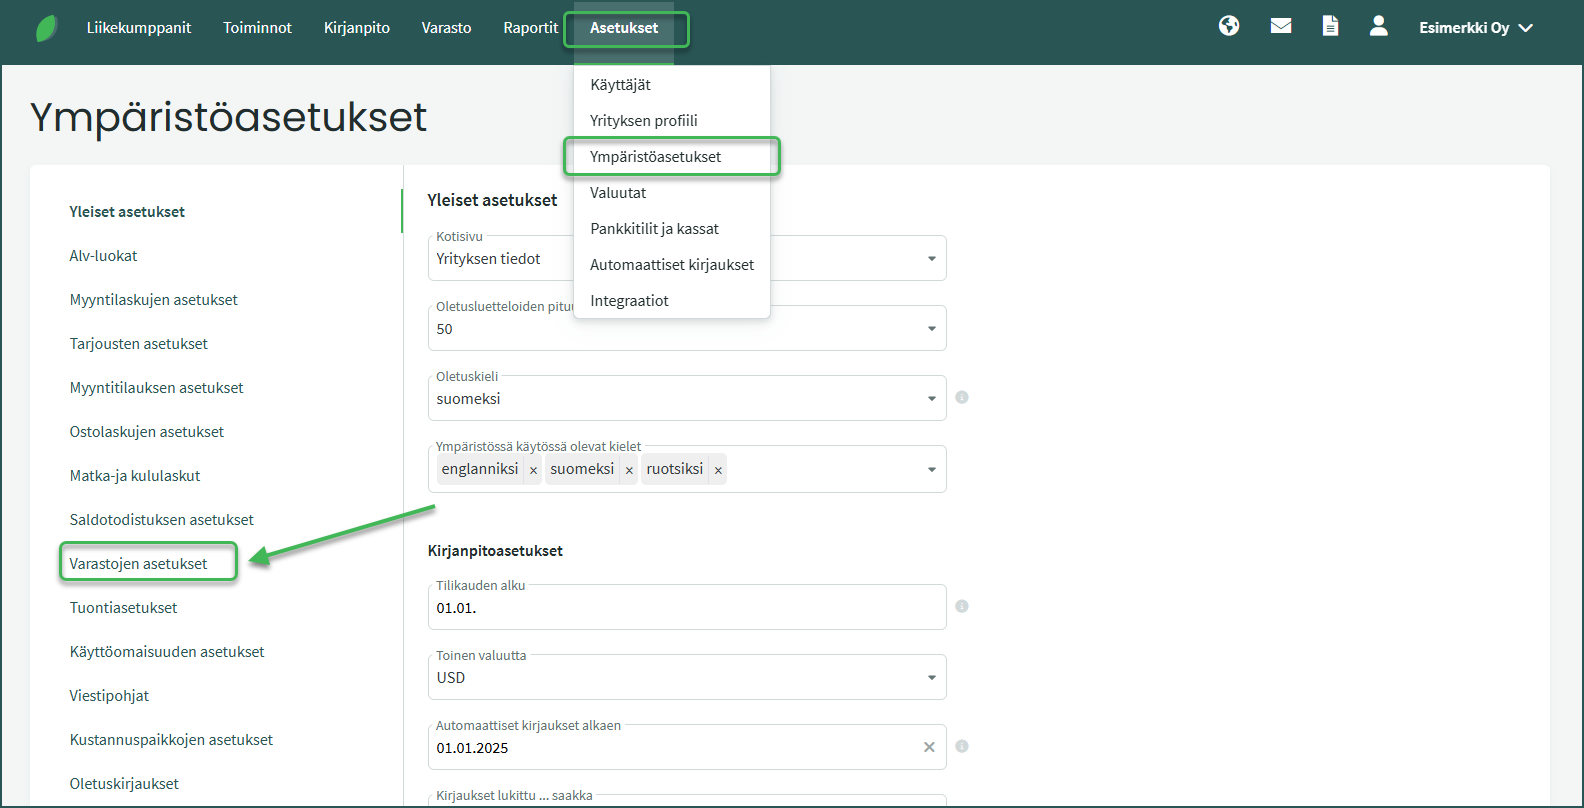
- You can access warehouse settings from Settings > Environment settings > Warehouse settings.
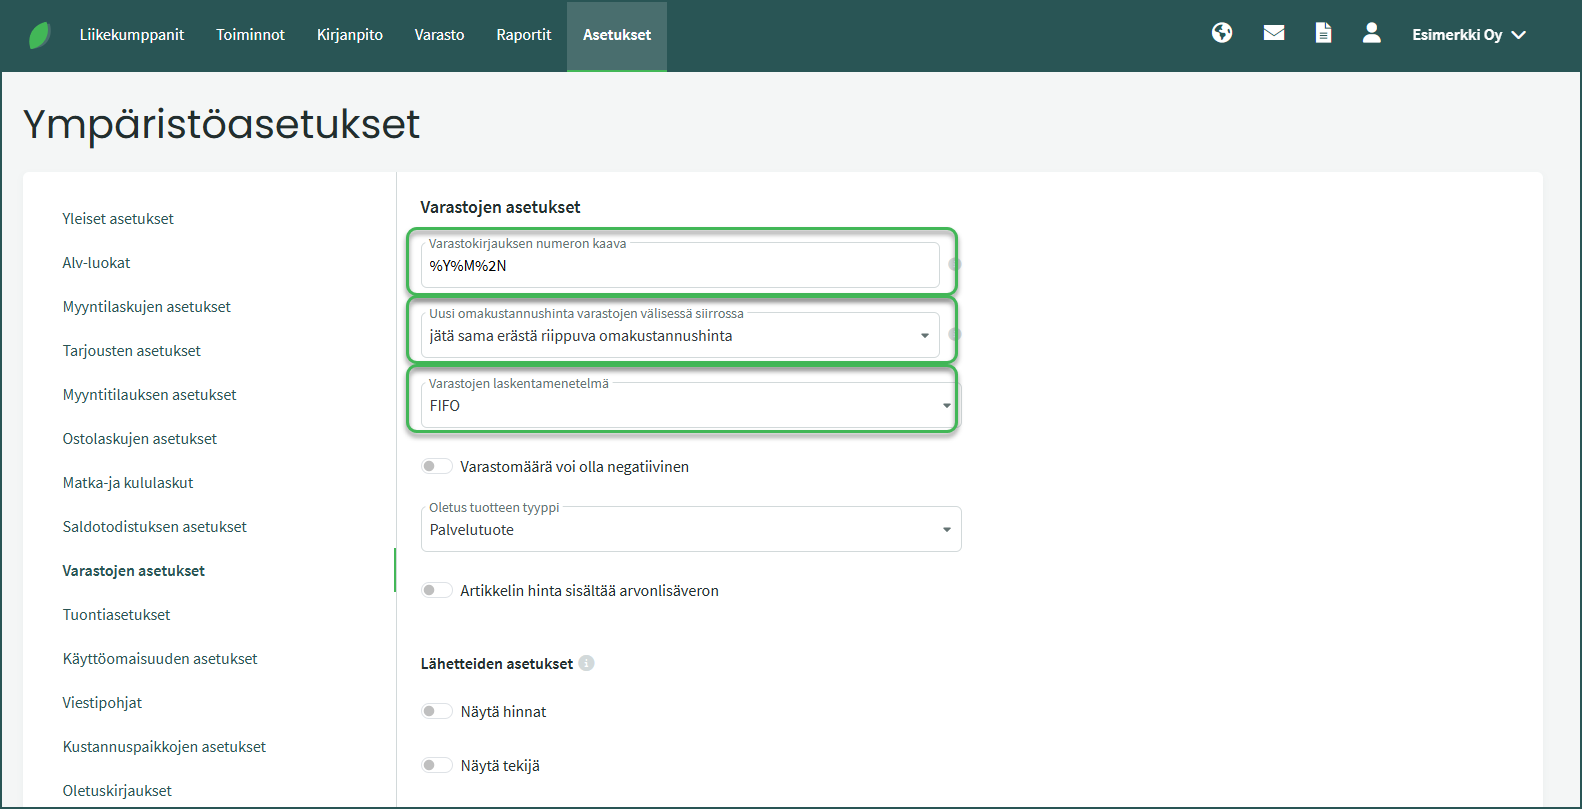
Configure the warehouse settings
- Automatic numbering formula for inventory entries can be, for example: %Y%M%3N= 2404001 (in this case it would be the first inventory entry of April 2024).
- You can read more about automatic numbering here.
- There are three options for determining the cost price.
- There are also three options for the inventory valuation method. In Finland, the FIFO method (First In, First Out) is commonly used.
Once you have configured the appropriate settings, save and proceed to step 2.
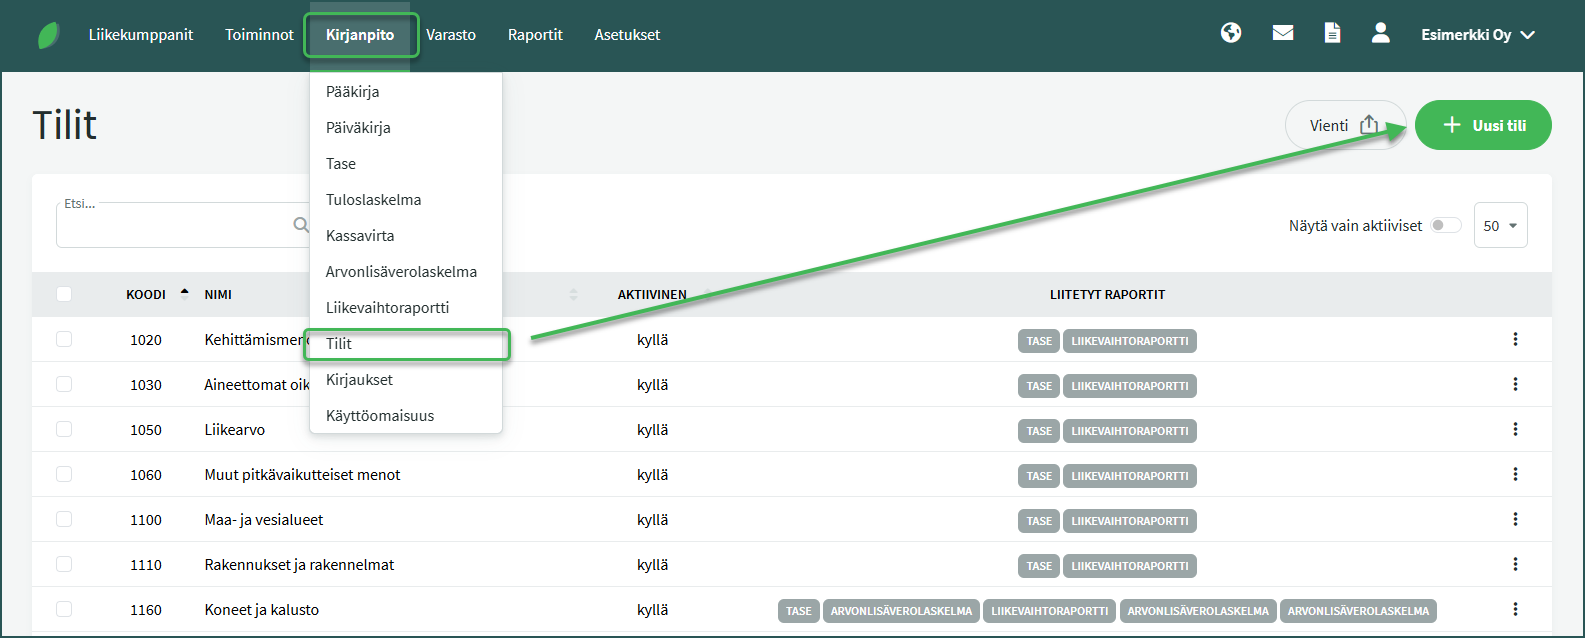
Before creating a new warehouse, set up a new accounting account for the upcoming warehouse. The new account is created from Accounting > Accounts > New account. Add a suitable name for the account (warehouse), for example “Tampere warehouse”, and save.
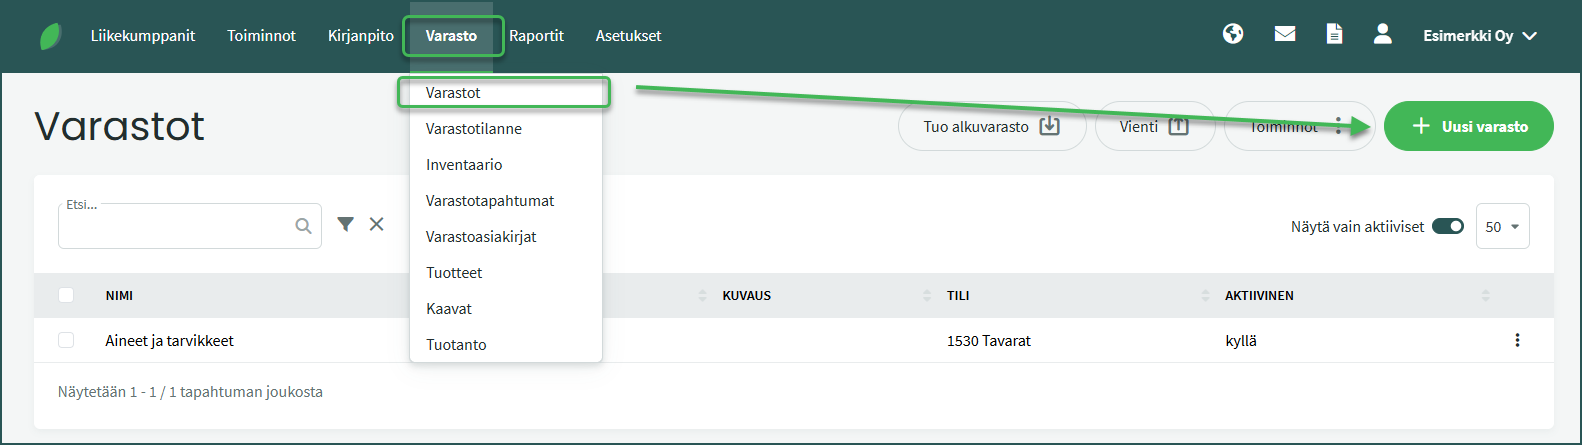
A new warehouse is created from Inventory > Warehouses > New warehouse.
Select the accounting account you created in the previous step for the warehouse, give the warehouse a name (e.g. Tampere warehouse), and save.
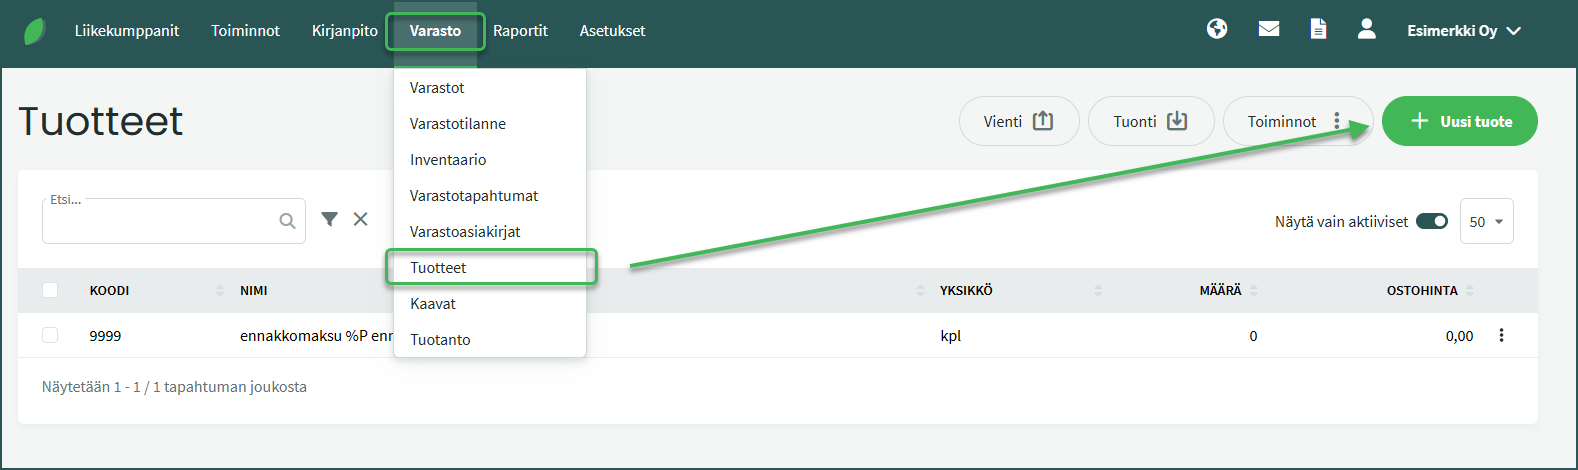
New products are added from Inventory > Products > New product.
Required fields:
- Code – The code must contain at least two characters. It can be, for example, an official product number or a number series of your own choosing.
- Name – You can name the product using its official name or any name you prefer, for example “Tennis racket”.
Optional fields:
- Purchase price – You can specify the product’s purchase cost price.
- Sales price calculation – You can choose the method for calculating the selling price. It can be a “Markup percentage“, calculated from the purchase price, or a “Fixed selling price“, which is automatically applied to invoices.
- Description – Here you can optionally add more detailed background information or a product description. For example, “Wilson W 250, women’s professional racket”.
Select Inventory product as the product type and save.
If you do not want to add a stock balance to the product, it must be created as a service product as described in the first part of this guide.
Products can be added to the warehouse either via purchase invoices (guide) or by entering an opening stock balance (guide).
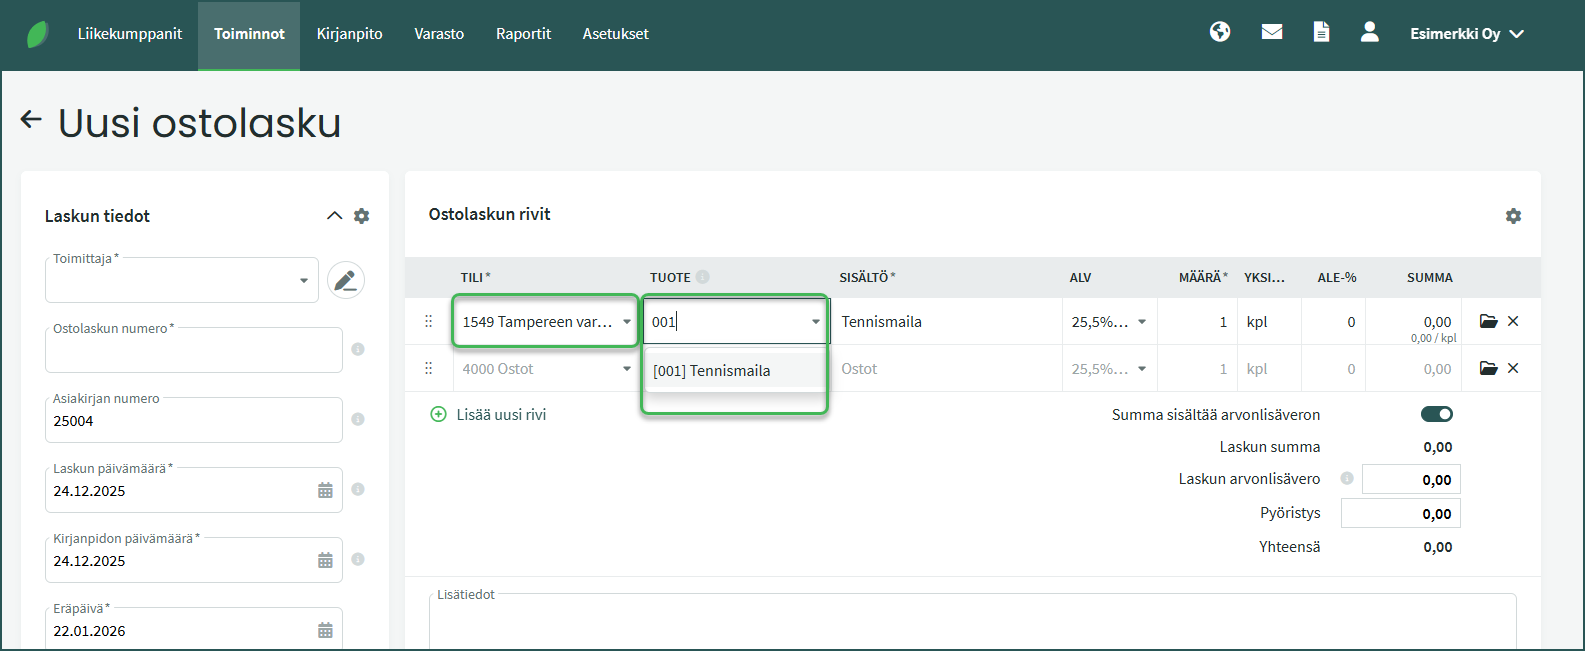
When you select the inventory account on a purchase invoice line (see point B above), the system adds the product to that warehouse.
You can select the newly created product in the Product field on the purchase invoice. The system will suggest the product as you start typing its name.
- Transferring products between warehouses
- Adding products from a file (product list)
- Adding opening stock balance
- Creating a new purchase invoice
- Creating a new sales invoice
- Checking stock balance
- Removing a product from stock
- Changing automatic numbering for sales invoices, purchase invoices, quotes, or inventory entries
Leave A Comment?