
This guide explains how to reduce products from inventory.
When inventory products are purchased or sold, stock changes are recorded automatically through purchase and sales invoices. However, changes can also be made directly on the Inventory Documents page. From there you can record inventory additions, reductions, and transfers.
When should the inventory balance be reduced?
The inventory balance is typically reduced through a sales invoice or stocktaking. However, a manual reduction may be used, for example, when products in stock have been damaged or are no longer saleable for another reason.
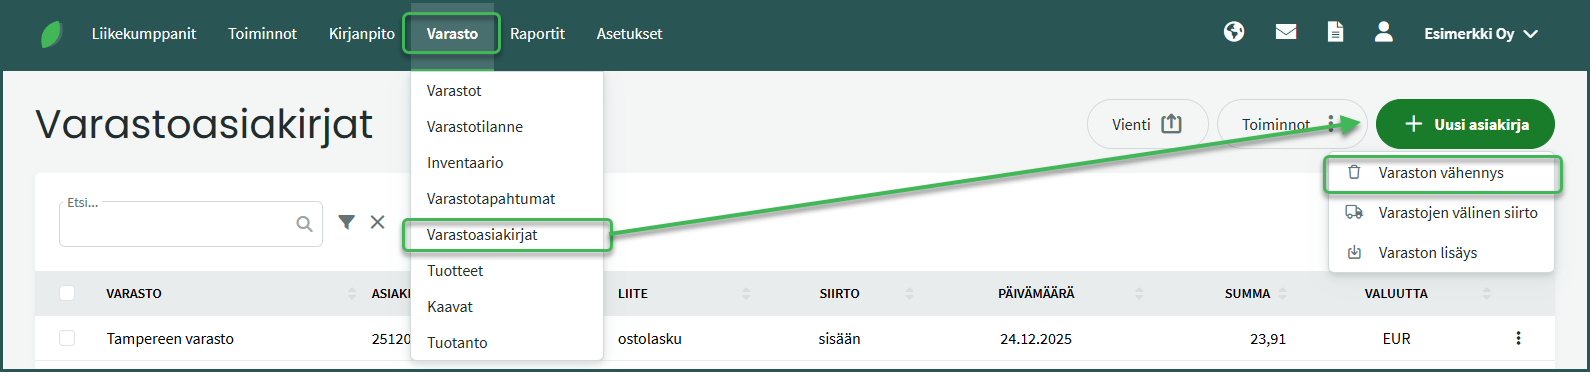
- Create a new reduction at Inventory > Inventory Documents > New Document > Inventory Reduction.
- Set the reduction date and select the warehouse from which the products will be reduced.
- Add a line, select the product to reduce, and enter the quantity.
- Save.
DETAILED GUIDE
1. A product reduction is created at Inventory > Inventory Documents > New Document > Inventory Reduction.
2. Fill in the required details
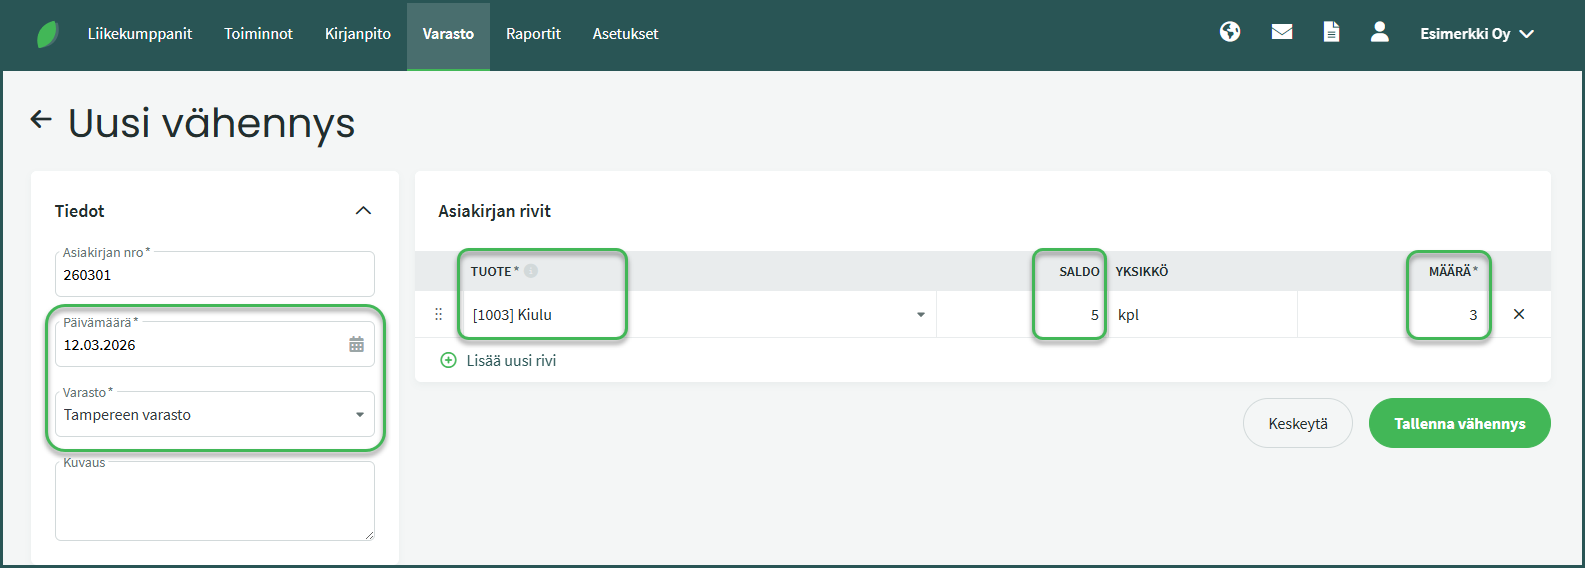
- Date – The date of the reduction.
- Warehouse – The warehouse from which the products are being reduced.
- Product – The product whose balance is being reduced. You can search by part of the product name or code.
- Balance – The current inventory balance, i.e. how many units of that product are in stock.
- Quantity – The amount to reduce.
Once the details are filled in and the reduction is saved, the system automatically creates the accounting entry. The entry reduces the inventory value on the balance sheet and increases expenses.
Also check that automatic entries are enabled in the environment settings. You can read more about automatic entries here.
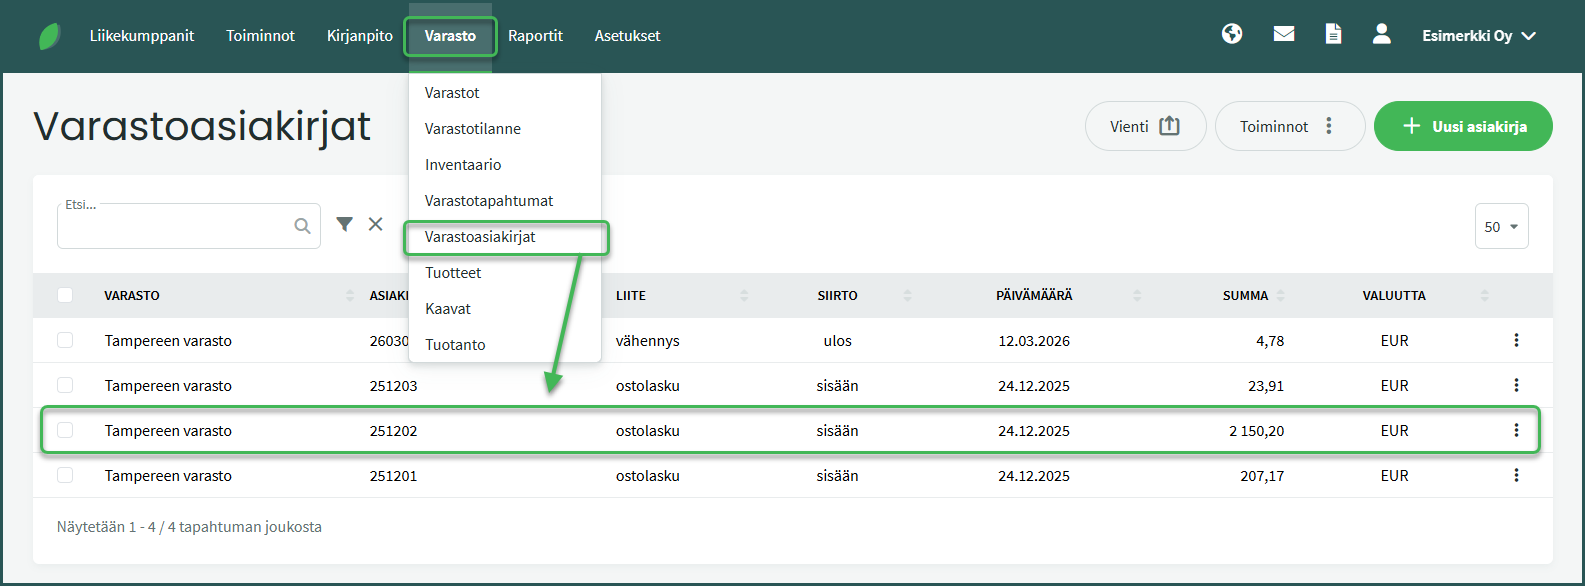
3. A saved entry can be edited later if needed by clicking the relevant document at Inventory > Documents
Leave A Comment?