
This guide explains how to add new ledger accounts to SimplBooks or modify existing ones.
- 1000–1999 Balance sheet – Assets (e.g. inventories, property, receivables, cash and cash equivalents)
- 2000–2999 Balance sheet – Liabilities and equity (e.g. company capital, liabilities)
- 3000–3999 Income statement – Sales accounts (e.g. sales and other operating income)
- 4000–4999 Income statement – Purchase accounts (e.g. purchases of goods and services, changes in inventories)
- 5000–6999 Income statement – Personnel expenses and depreciation (e.g. wages and related costs, depreciation)
- 7000–8999 Income statement – Other operating expenses (e.g. expenses related to personnel, premises and marketing)
- 9000–9999 Income statement – Financial income and expenses, taxes and appropriations
Want to learn more?
Read more on our blog: Chart of accounts — the map of bookkeeping
1. A new account is added under Accounting > Accounts > New Account.
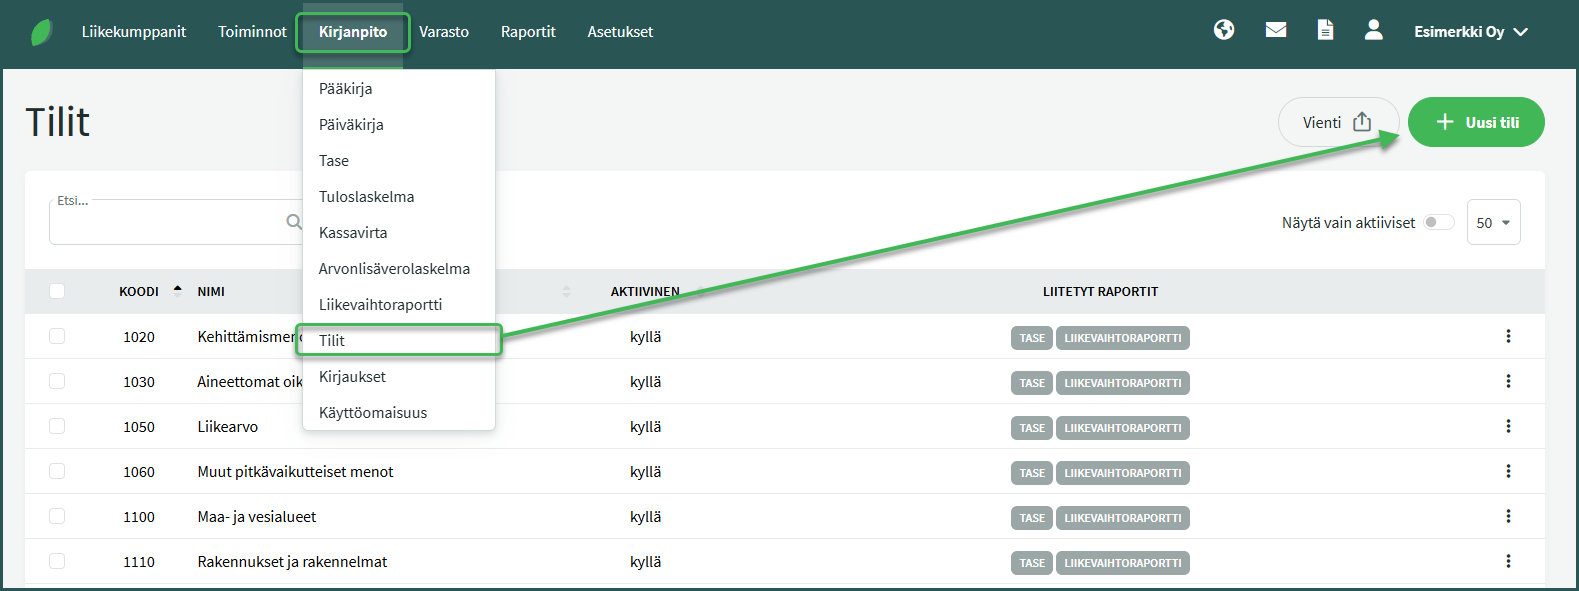
2. Enter the account code and name

- Two accounts cannot share the same code or name.
3. If you want to print reports in English or Swedish, add translations for the account name under “Add translations”

4. After adding the account, verify that it is included on the balance sheet or income statement, as well as any other required reports.

- The reports associated with an account can be seen on that account’s row under Accounting > Accounts.
5. You can check the default account ranges in a report’s settings before adding the account, under Accounting > Balance Sheet / Income Statement > Actions > View report settings
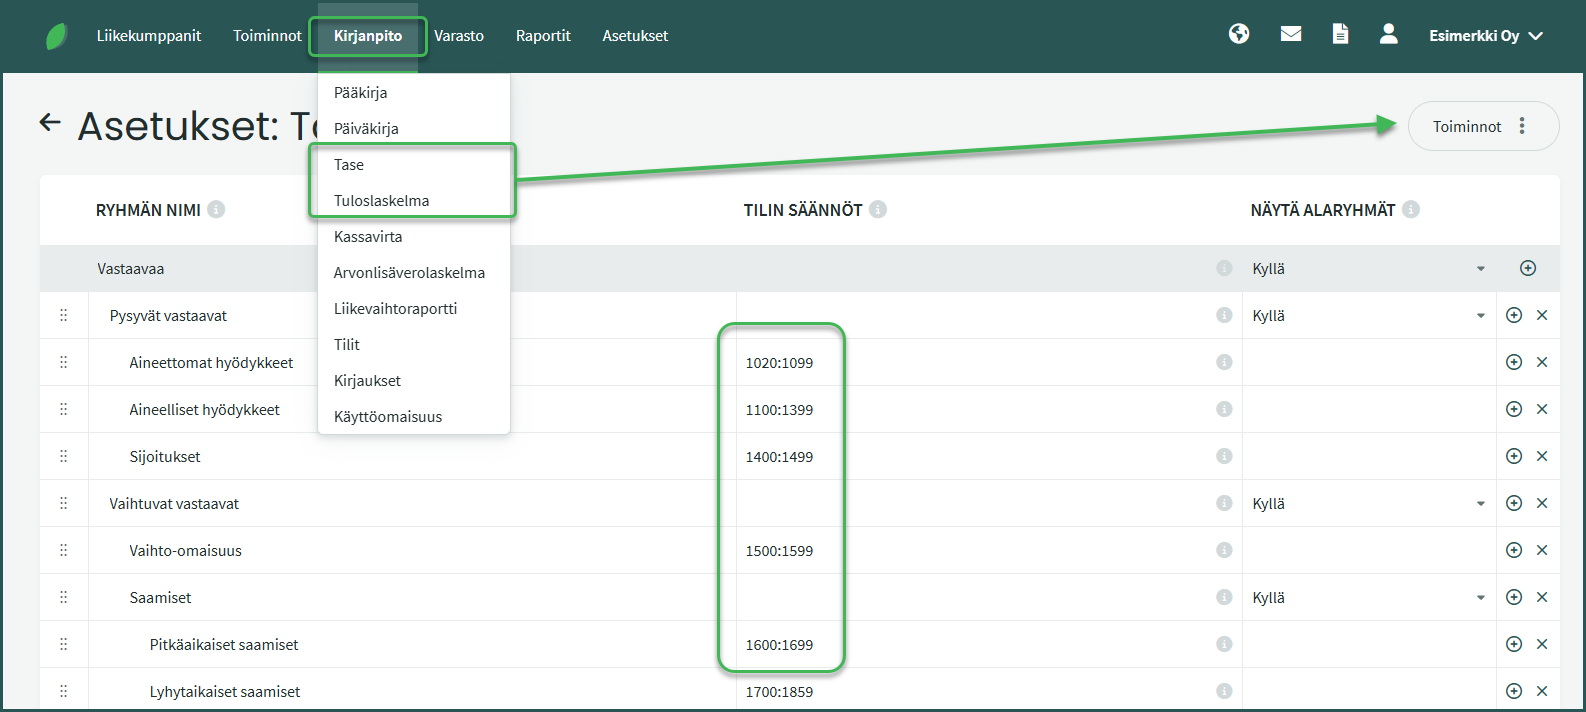
- Accounts added within these account ranges will be included in the report automatically.
6. Note: If you remove accounts from the chart of accounts, check under Settings > Automatic Postings that the account is not used by the software’s automatic posting rules.

- If any account required for automatic postings is undefined, the software will not process closing entries and other automatic postings correctly.
7. You can edit a ledger account by clicking on it in the account list under Accounting > Accounts.
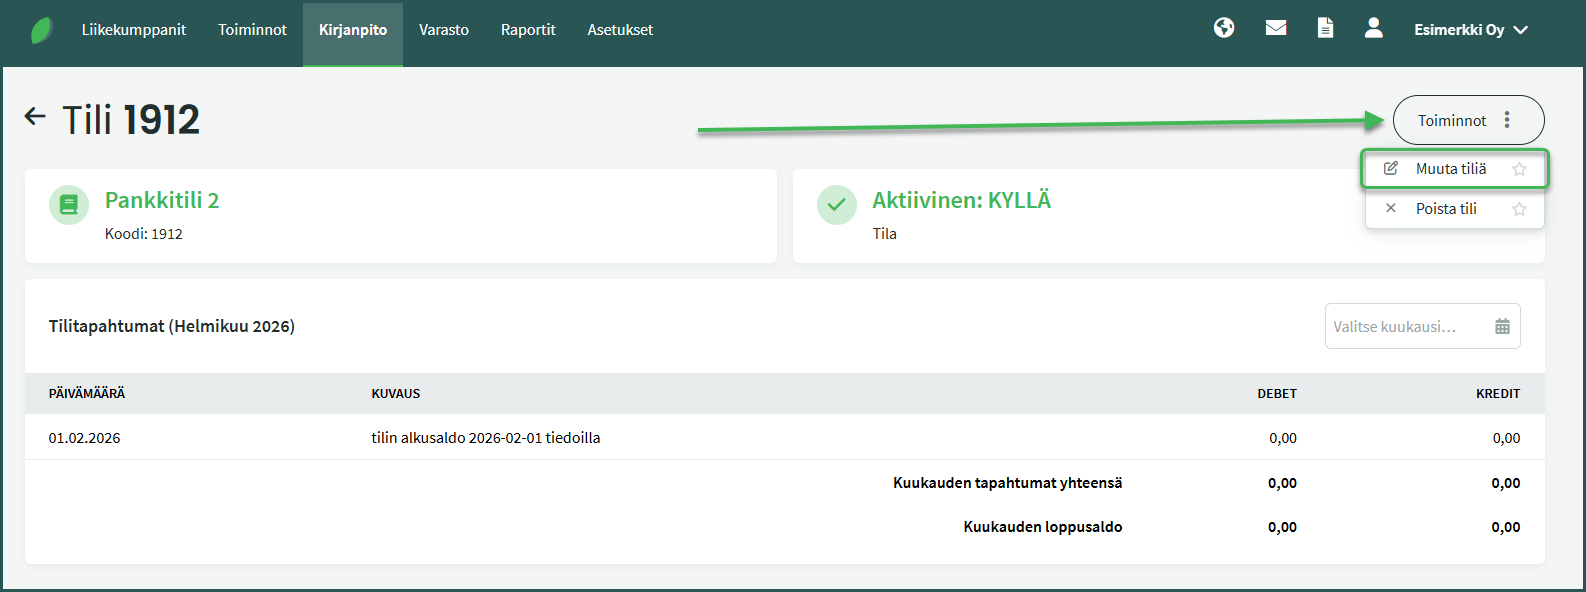
After selecting an account, you will see its balance in the view that opens. You can edit the account by clicking “Edit account” from the Actions menu.
Leave A Comment?