
This guide explains how to receive e-invoices and how to manage notification settings.
Why receive purchase invoices as e-invoices?
Receiving purchase invoices as e-invoices reduces manual work. Invoices arrive directly in SimplBooks, and you can choose whether the software saves them automatically or whether you want to review the details before saving. If you wish, you can also receive a free email notification for incoming purchase invoices, which includes a virtual barcode.
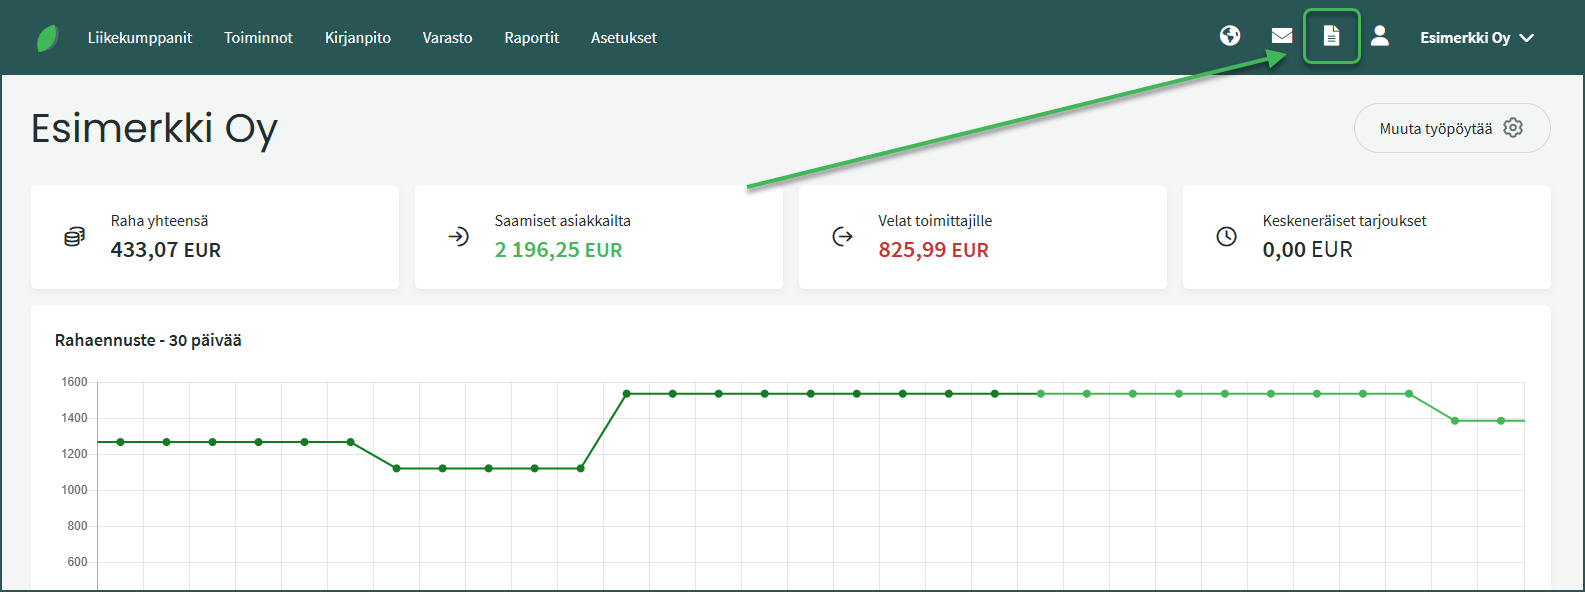
1. When e-invoicing is enabled, e-invoices arrive automatically in the Imported Documents view.
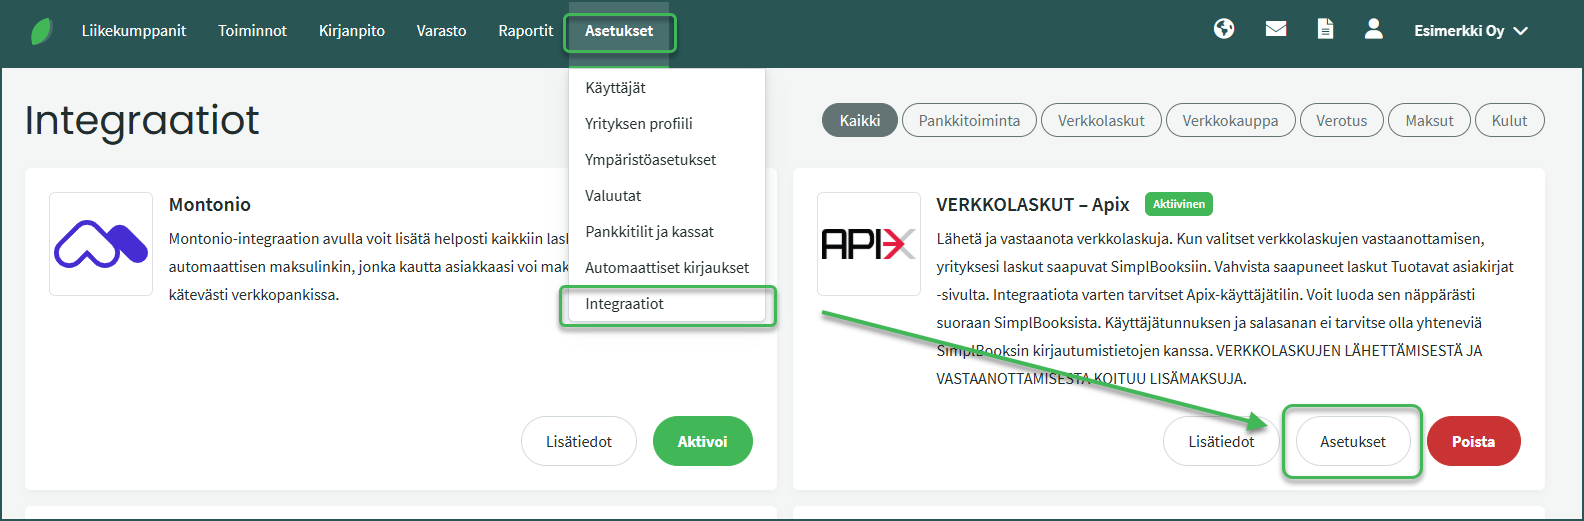
2. You can configure the software to save invoices automatically under Settings > Integrations > Apix > Settings > Automatic saving.
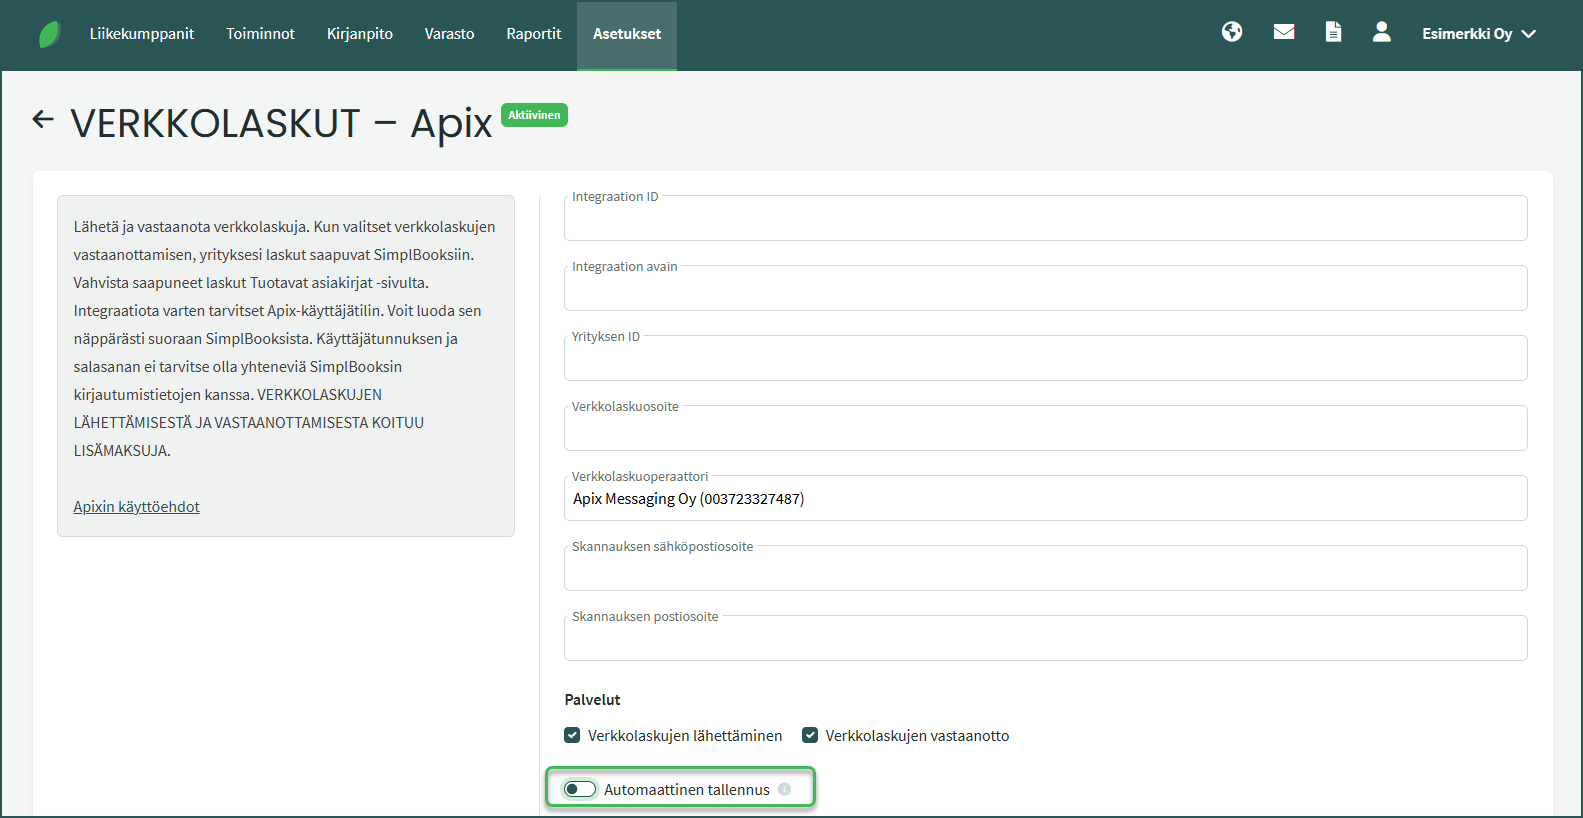
- When automatic saving is enabled, error-free purchase invoices will appear under Operations > Purchase Invoices.
- If the software does not save an invoice automatically, or if automatic saving is not enabled, invoices must be processed in the Imported Documents view. Open the invoice by clicking on it, verify the details, and save the purchase invoice.
You can import e-invoices manually under Imported Documents > Manual Import
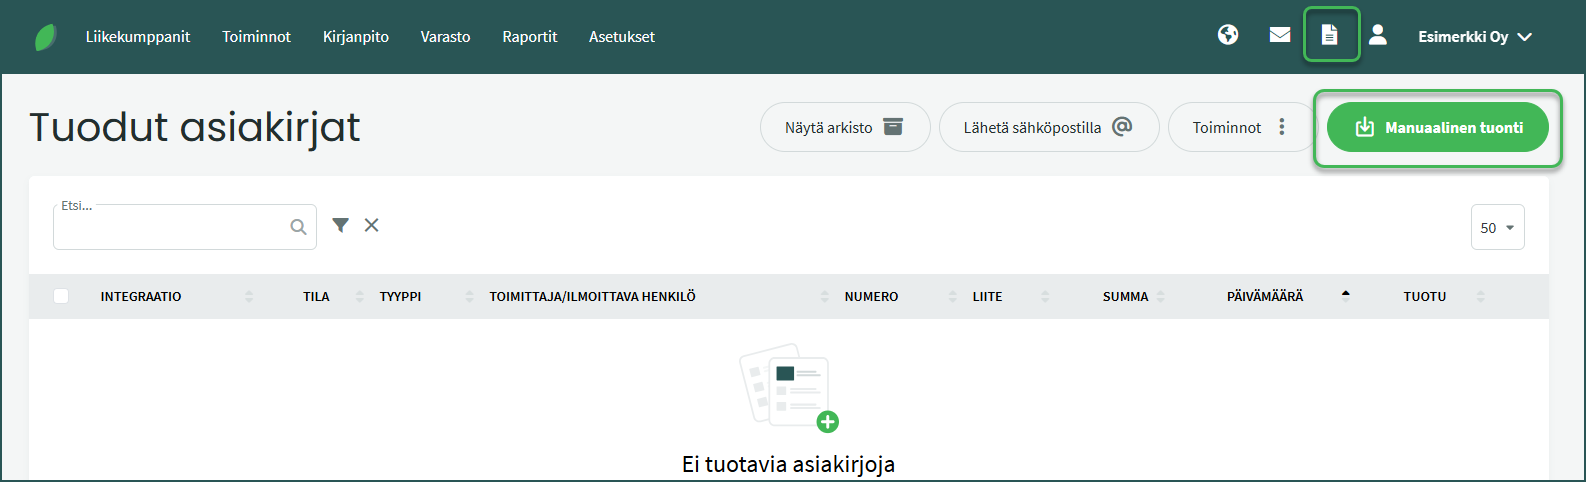
- In the view that opens, select “Import from Apix“.
If the original invoice’s final total and the “Total” field differ, this is due to a VAT rounding difference.

- You can manually adjust the VAT amount by editing the purchase invoice.
If you regularly purchase the same services or goods (e.g. phone bills or self-employed pension insurance), you can set a default accounting account for a supplier under Business Partners > Customers and Suppliers > Select a supplier > “Edit customer/supplier“.
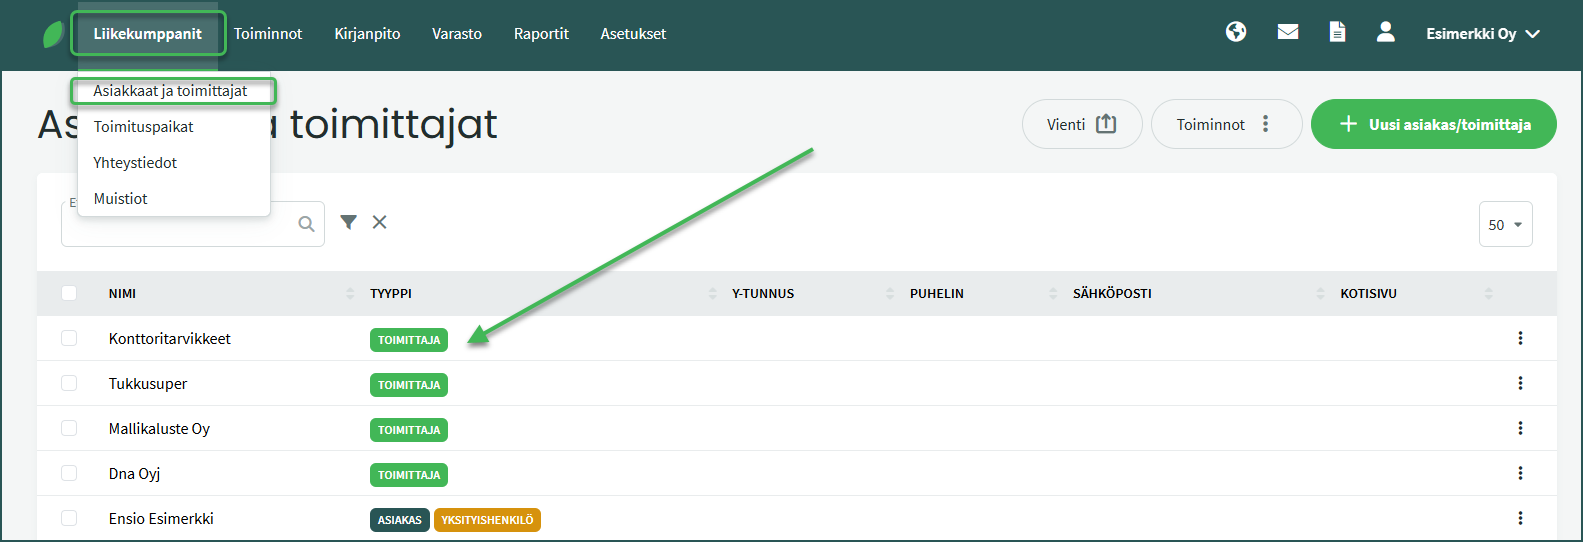
- Click to select the desired supplier and choose “Edit customer/supplier” from the top right of the view that opens.
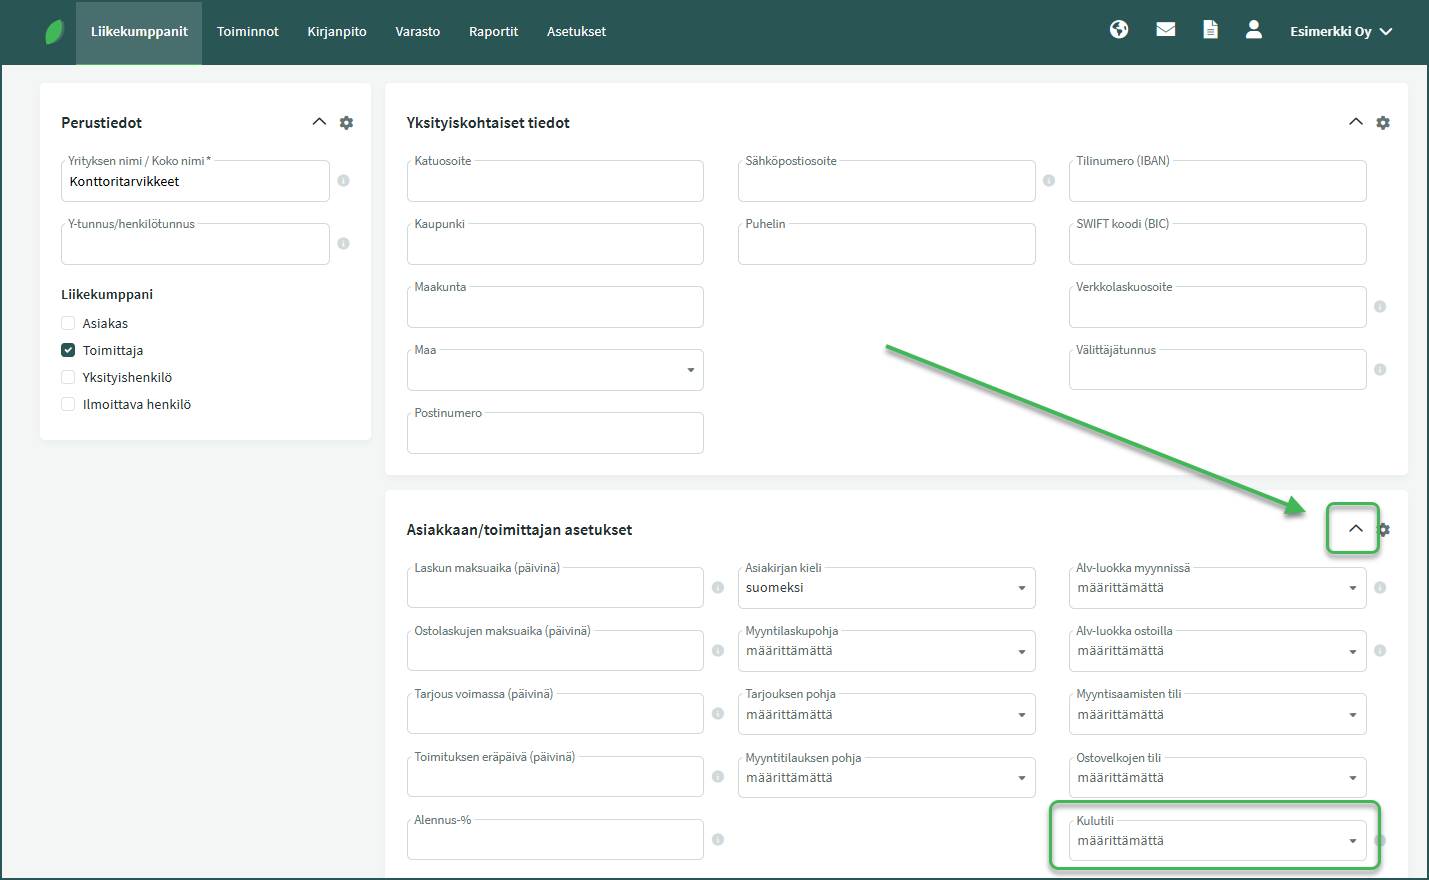
- Once an accounting account has been saved for a supplier, subsequent invoices will automatically be assigned to the specified account. The account can be changed by editing the purchase invoice.
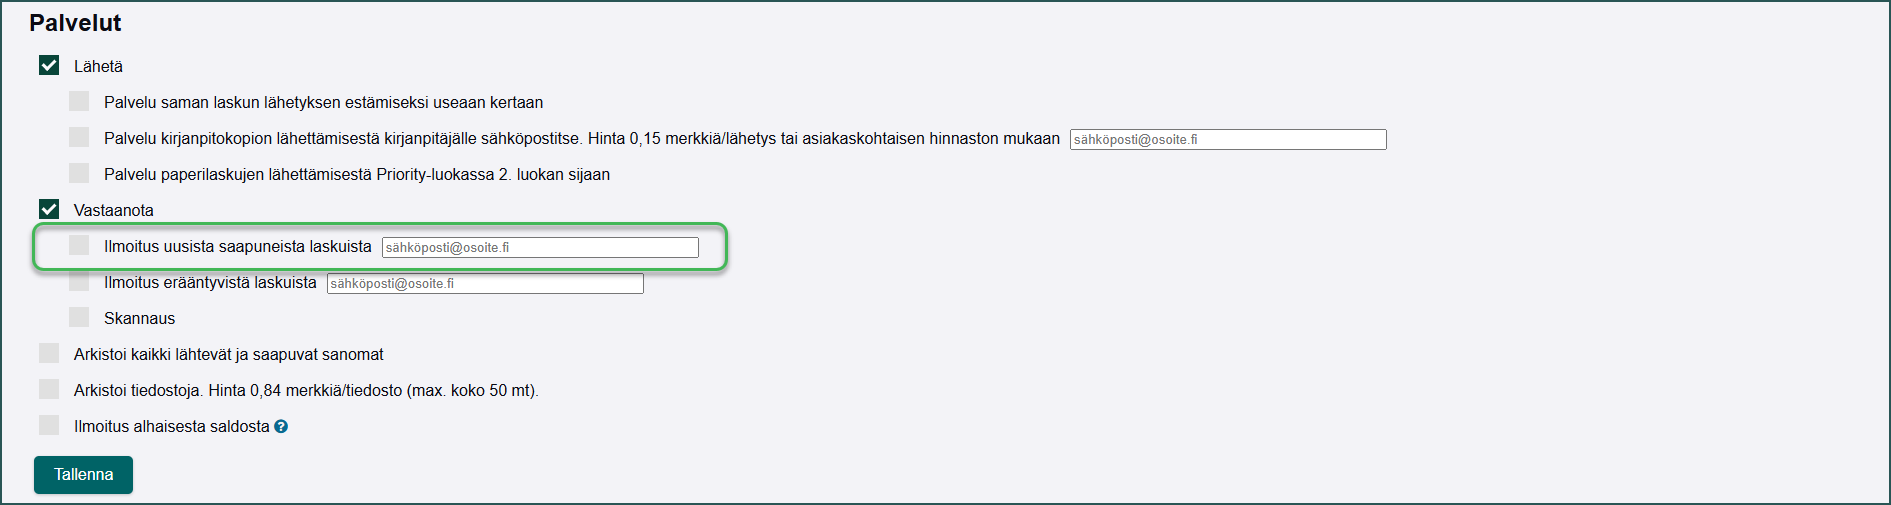
You can optionally enable email notifications for incoming e-invoices.

- To enable the notification, log in to Apix’s Laskumappi (Invoice Folder).
- Log in to Laskumappi with the email address and password you set when activating the Apix integration in SimplBooks.
- In Laskumappi, notifications are managed under Tools > Settings > Services

- Mark as paid – You can match a payment already in the software (e.g. imported from the bank or bank statement) to the invoice, or create a new payment. If the payment amount covers the full purchase invoice amount, the invoice will appear with the status “Paid“.
- Mark as sent to bank – If you have scheduled the purchase invoice payment in your online bank, you can use this function. The purchase invoice will then appear with the status “Pending at bank“.
- Export payment as XML file – This allows you to save the payment as an XML file to your computer.
- Pay at bank – This function allows you to send the payment to the bank. The purchase invoice will then appear with the status “Pending at bank“. Payments are always confirmed using online banking credentials. If the confirmation is not completed, the payment will not be processed by the bank.
Leave A Comment?